Heads up! The screenshots in this article are from Clipchamp for personal accounts. The same principles apply to Clipchamp for work and school accounts.
On this page
Want to share information while making your videos more engaging? Try using lower third graphics in your next video. Lower thirds are a simple but powerful text and graphic animation that can help you add context to your video while adding style, color and interest.
Whether you're making a tutorial video, a vlog, a game replay or a marketing video, lower thirds can level up any content. Share speaker names, locations, times, website details and more with these graphics. Learn how to add customizable lower third templates in Clipchamp and explore the most popular lower thirds in our video editor.
How to add lower third templates to videos
Step 1. Import videos or select stock footage
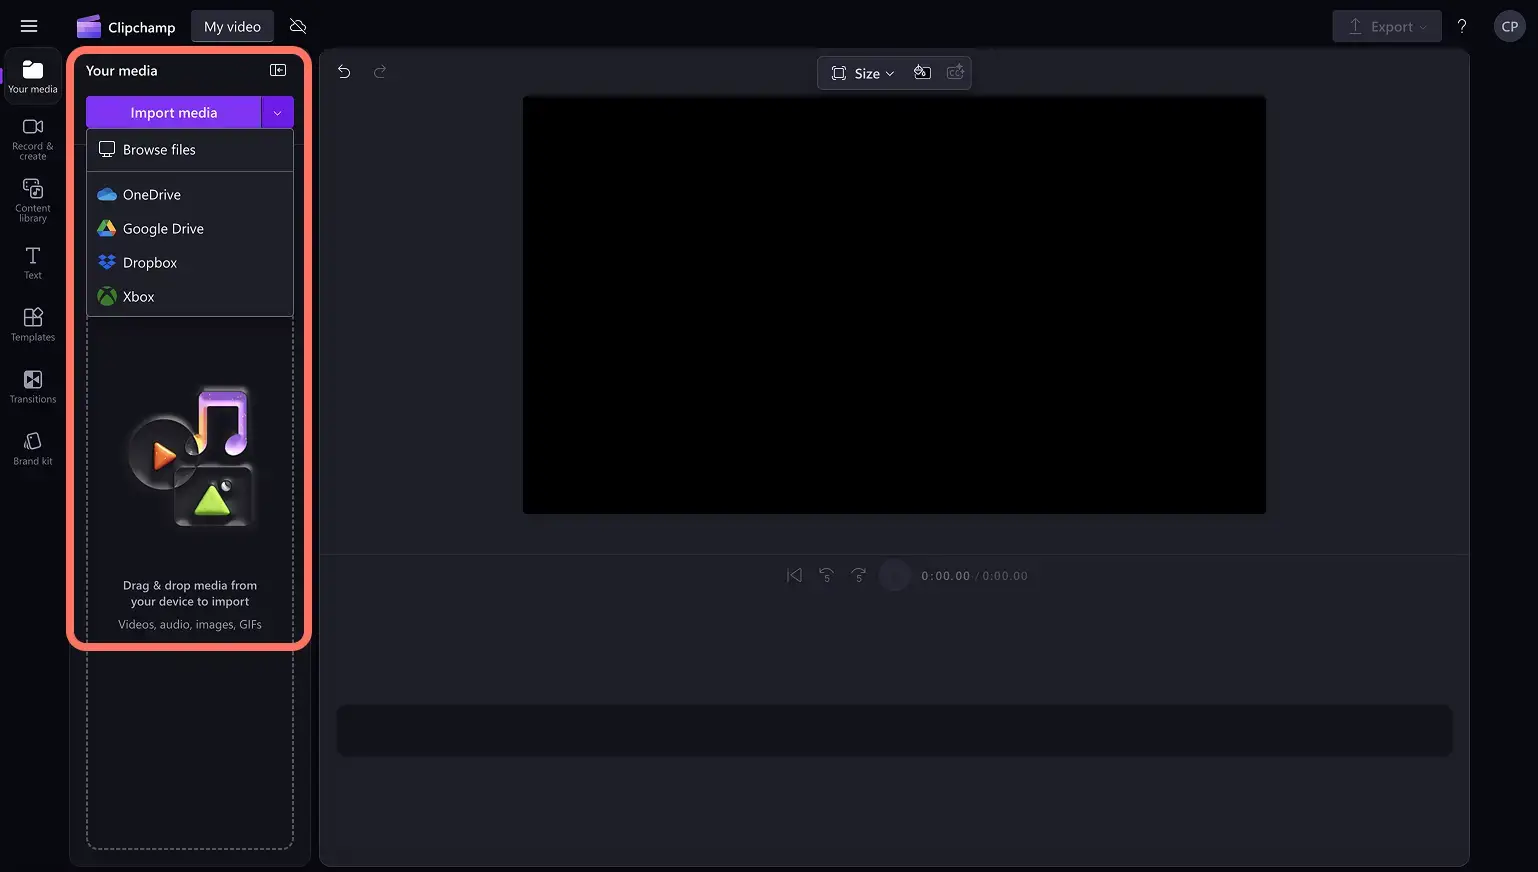
Start creating a video in Clipchamp. To import your own videos, photos, and audio, click on the import media button in the your media tab on the toolbar to browse your computer files. You can also import your files if you connect your OneDrive.
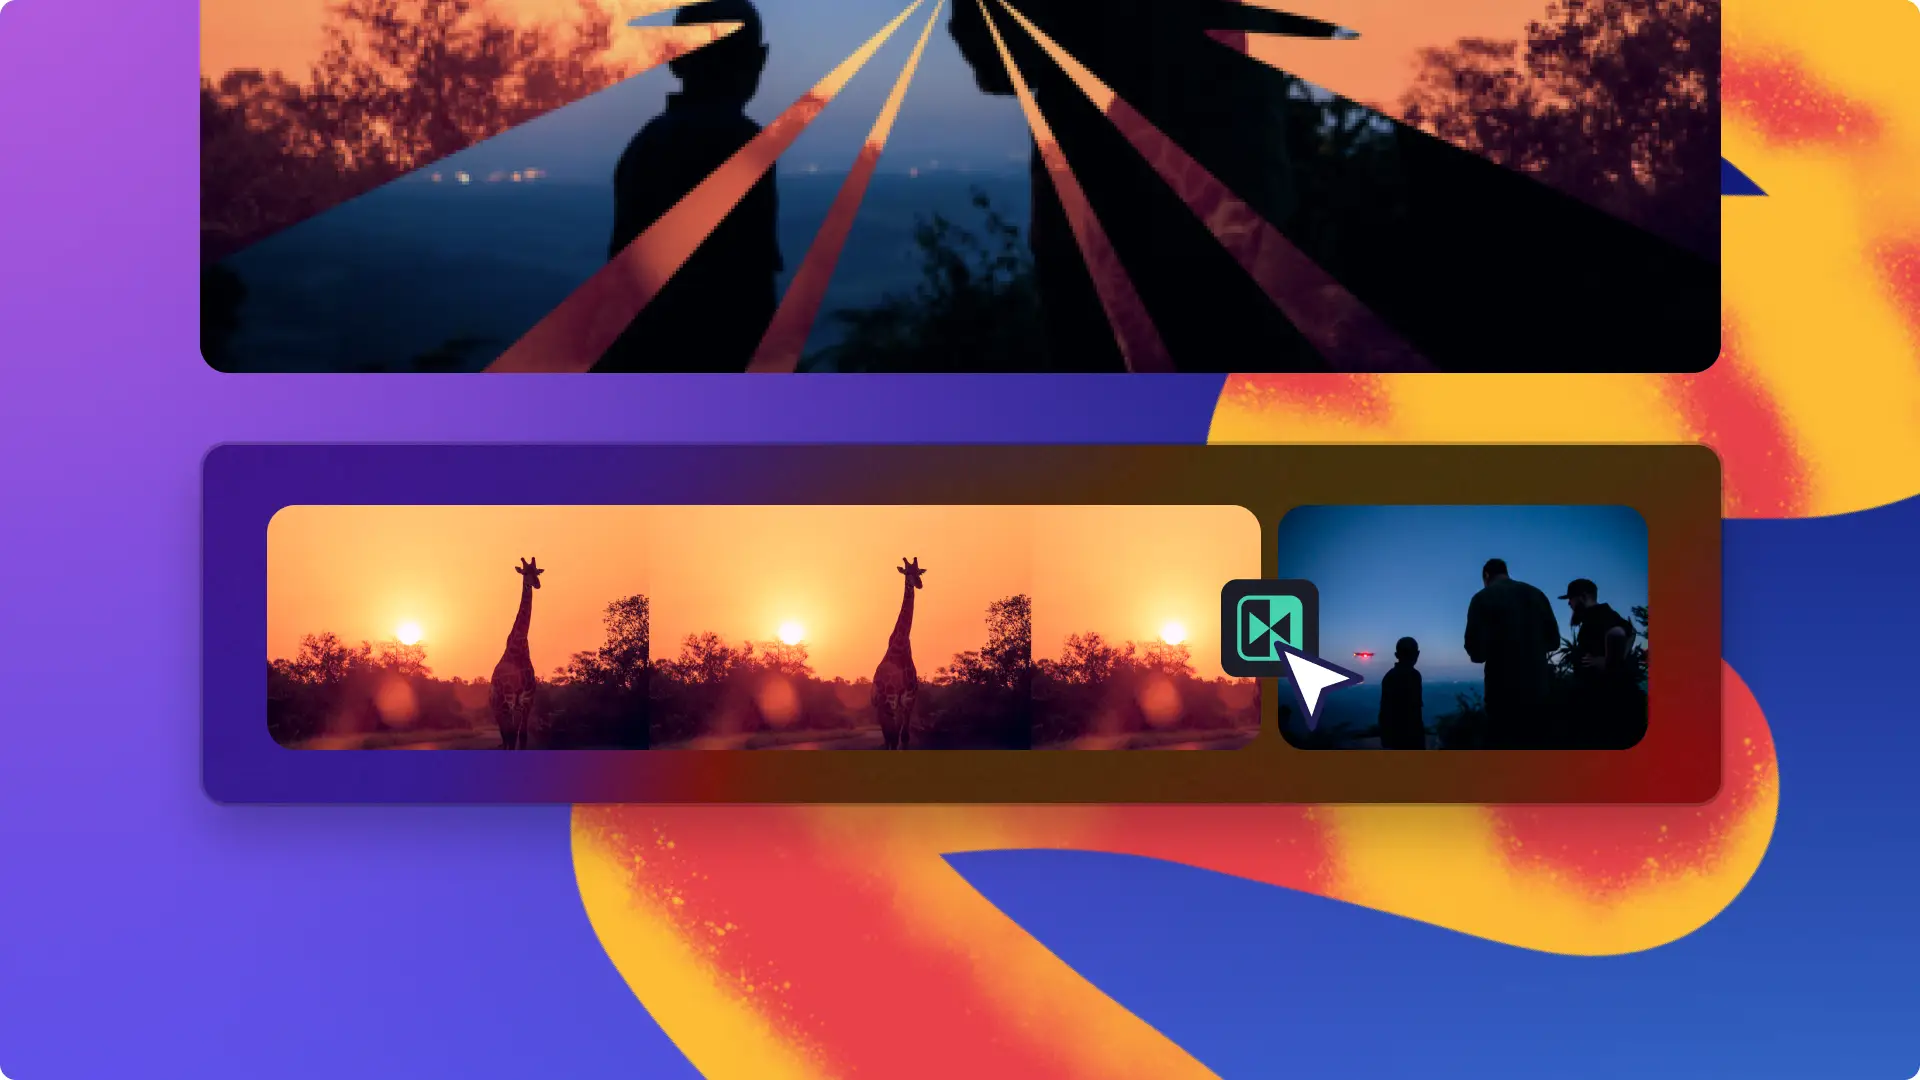
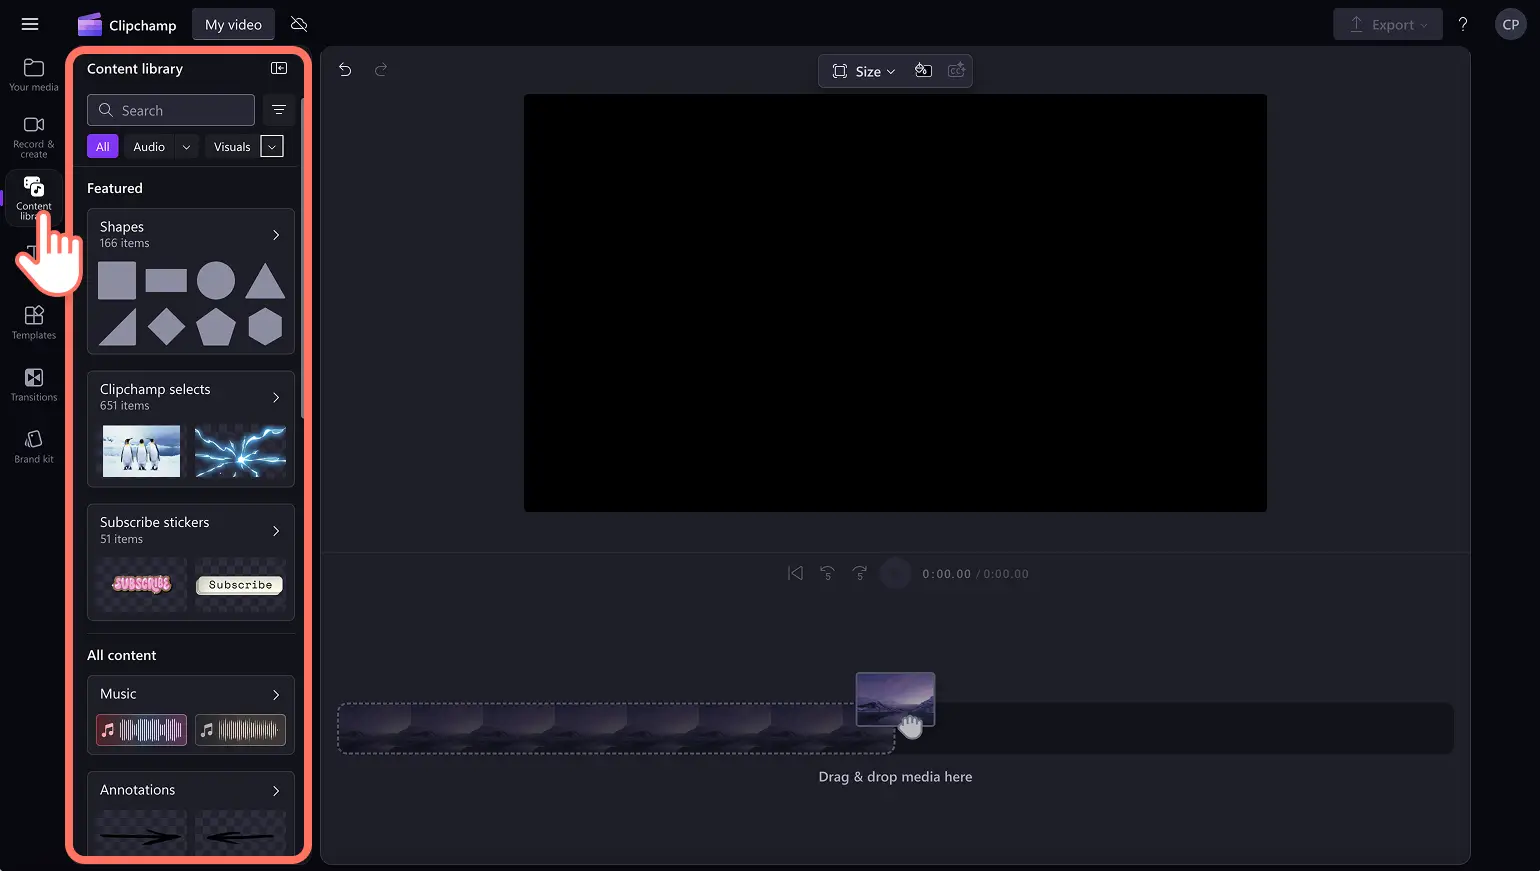
If you don't have any personal video footage, you can also use free stock media like video clips, video backgrounds, and stock music. Click on the content library tab on the toolbar and click on the visuals drop down arrow, then videos. Browse the different stock collections curated by themes or use the search bar.
Drag and drop your video onto the timeline. For this tutorial, we're using a YouTube vlog video example.

Step 2. Browse the templates tab
To explore the range of lower third graphics in Clipchamp, click on the templates tab on the toolbar and search for lower thirds.
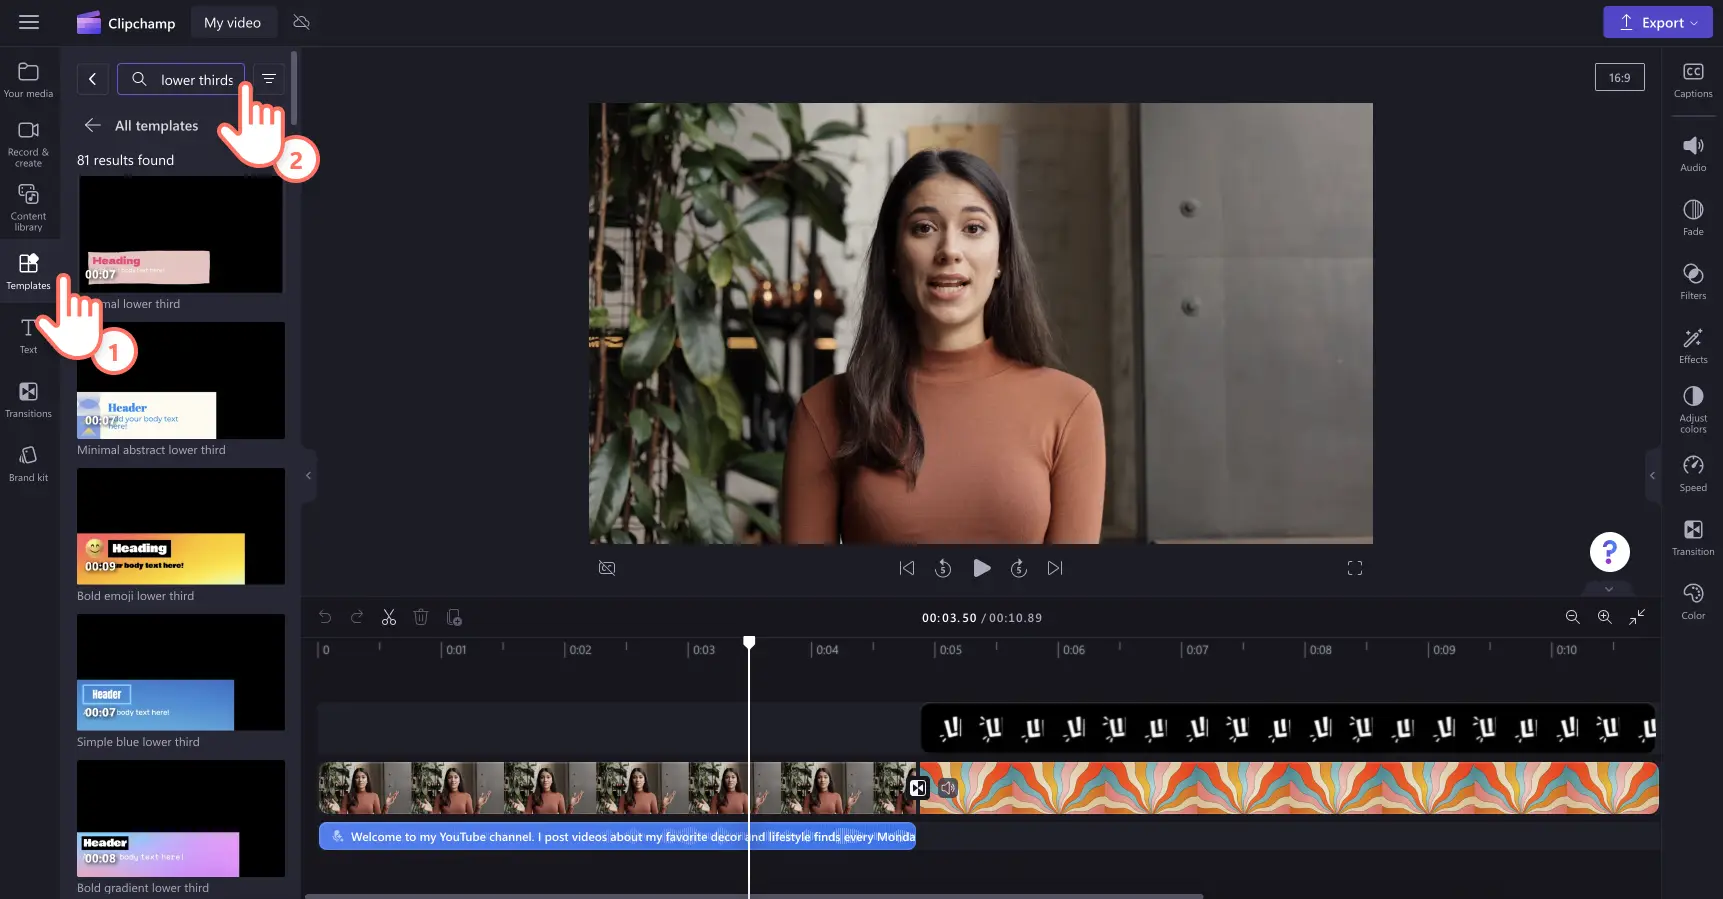
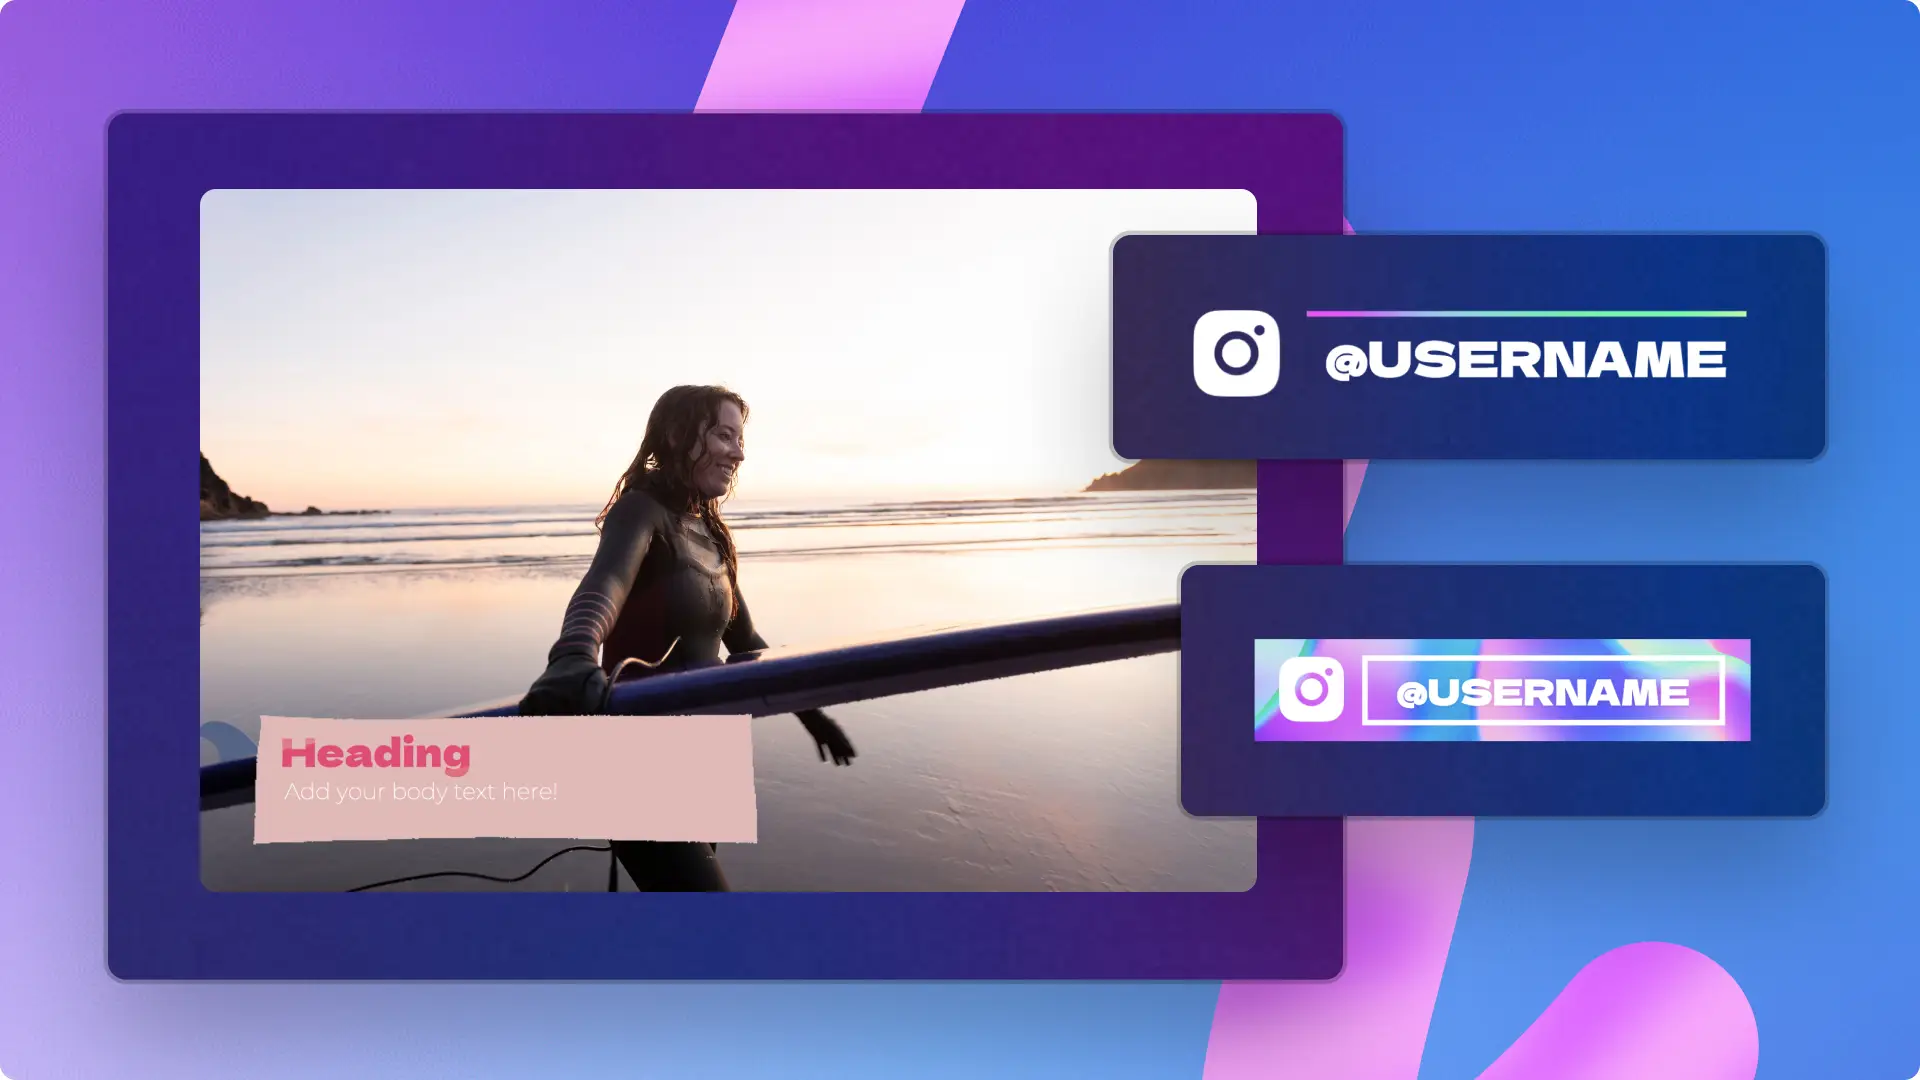
There are a range of lower third video templates and video overlays in Clipchamp. Our thoughtfully designed lower third graphics can suit any video aesthetic. Find modern, cute, gaming and informative styles of lower thirds in the video editor. Preview the lower third templates in the toolbar.
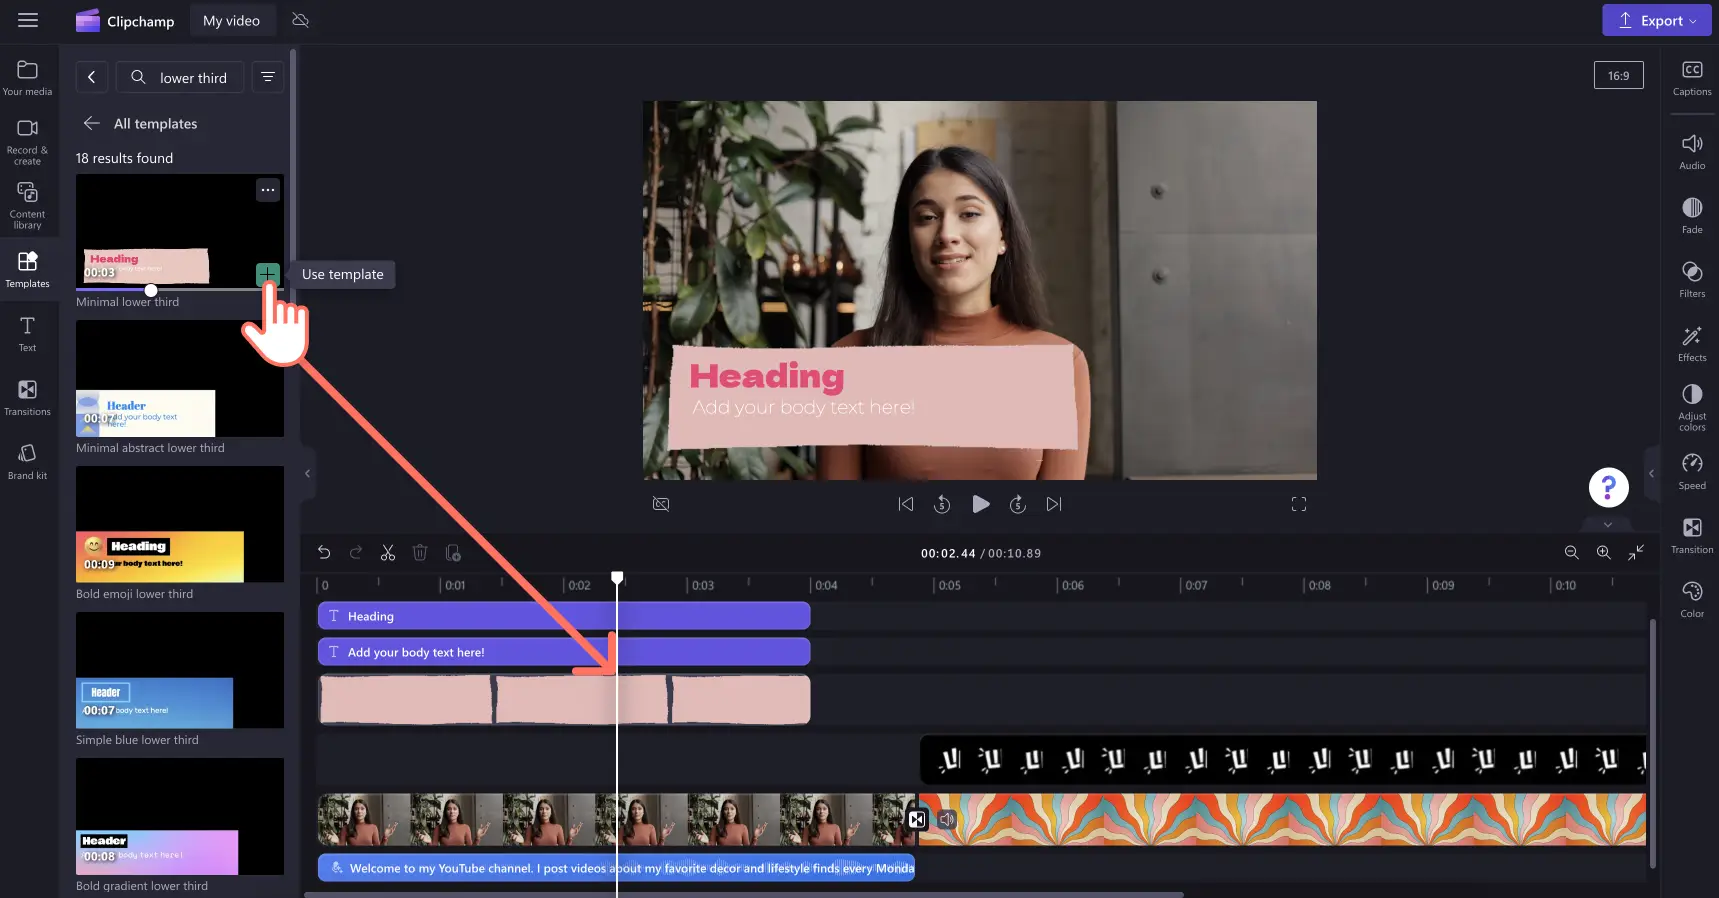
When you find a lower third template you like, simply drag and drop a sticker onto the timeline to add to your video.
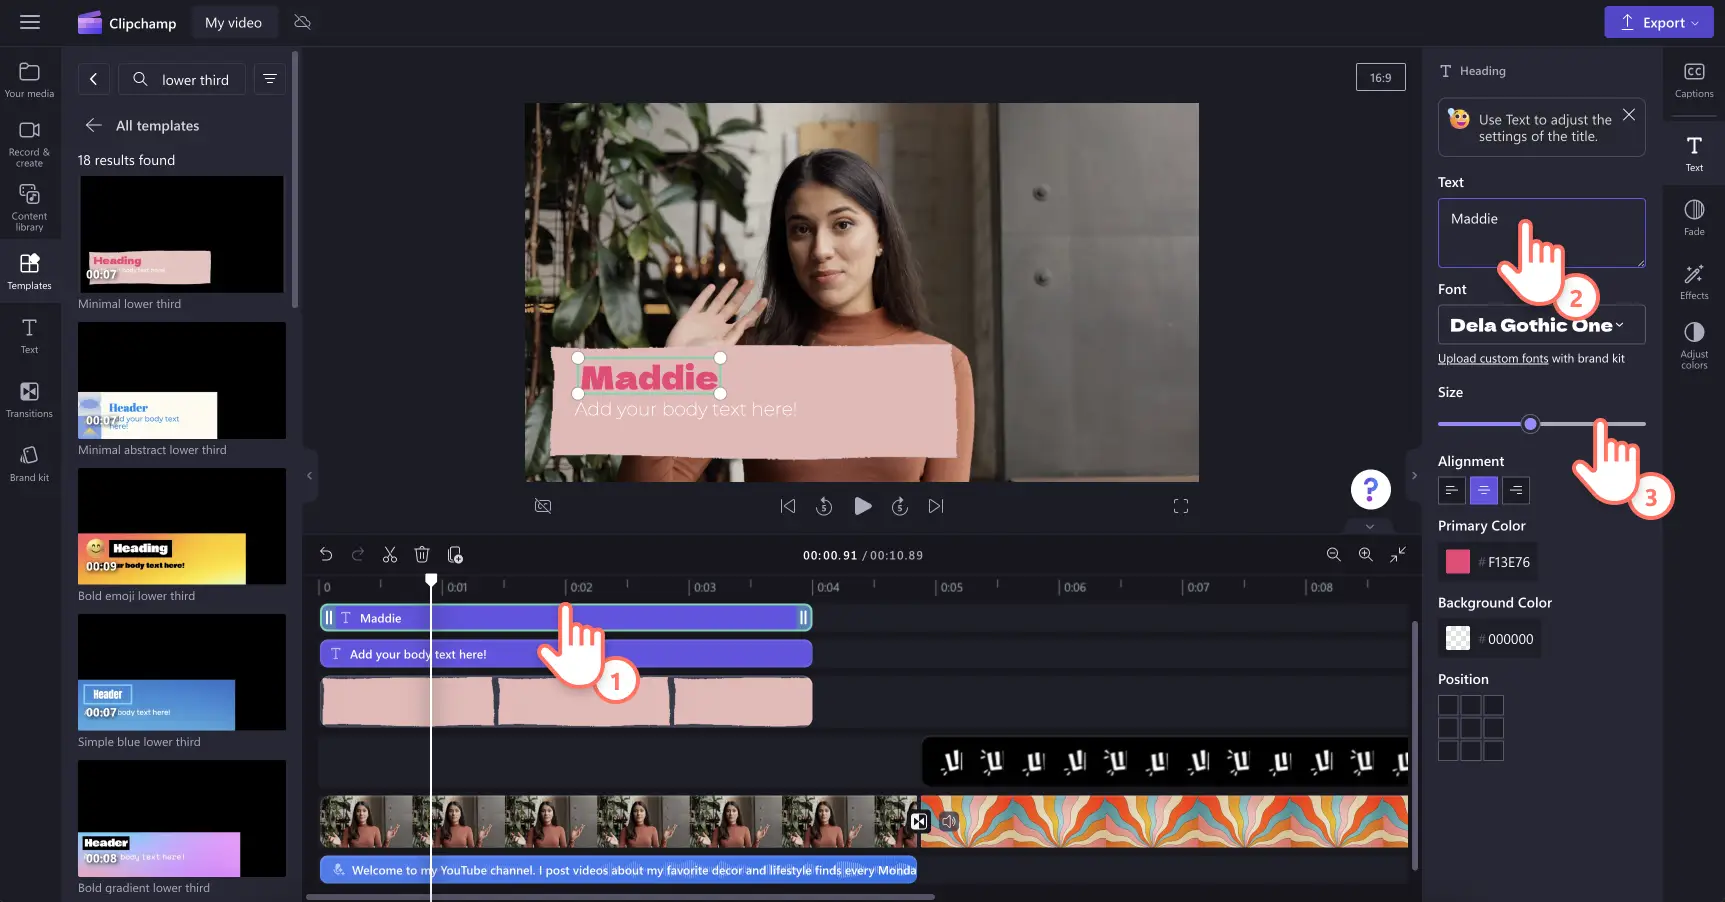
Step 3. Customize your lower third text
Once added to the video editing timeline, you can start customizing the template text with your own. Select a text layer to start editing text. The property panel will appear with text formatting options. Replace the template text, change the font, adjust the font size and select a color for your lower third here.
You can also change the text alignment and position of the text using the property panel.
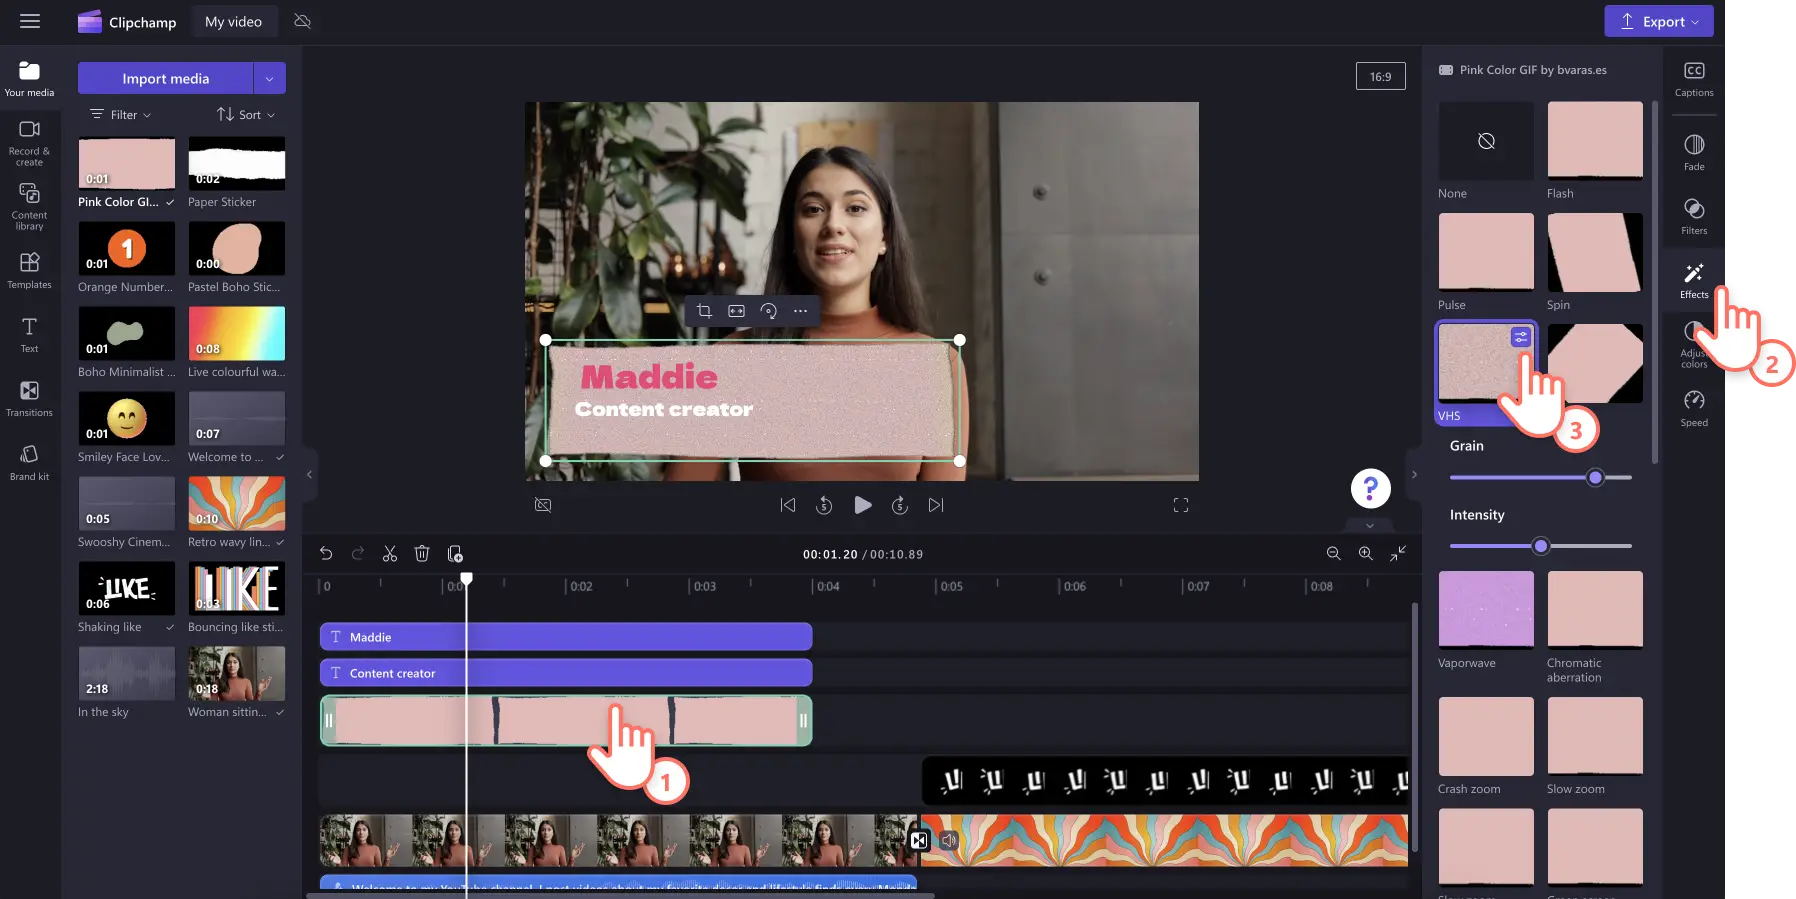
Step 4. Add video effects
Take your lower third to the next level by further customizing it to match your video aesthetic. You can smooth out the start and end times by using the fade in and out feature. You can also add a range of video effects like spin, slow zoom, VHS and others to make the graphics suit your video's style.
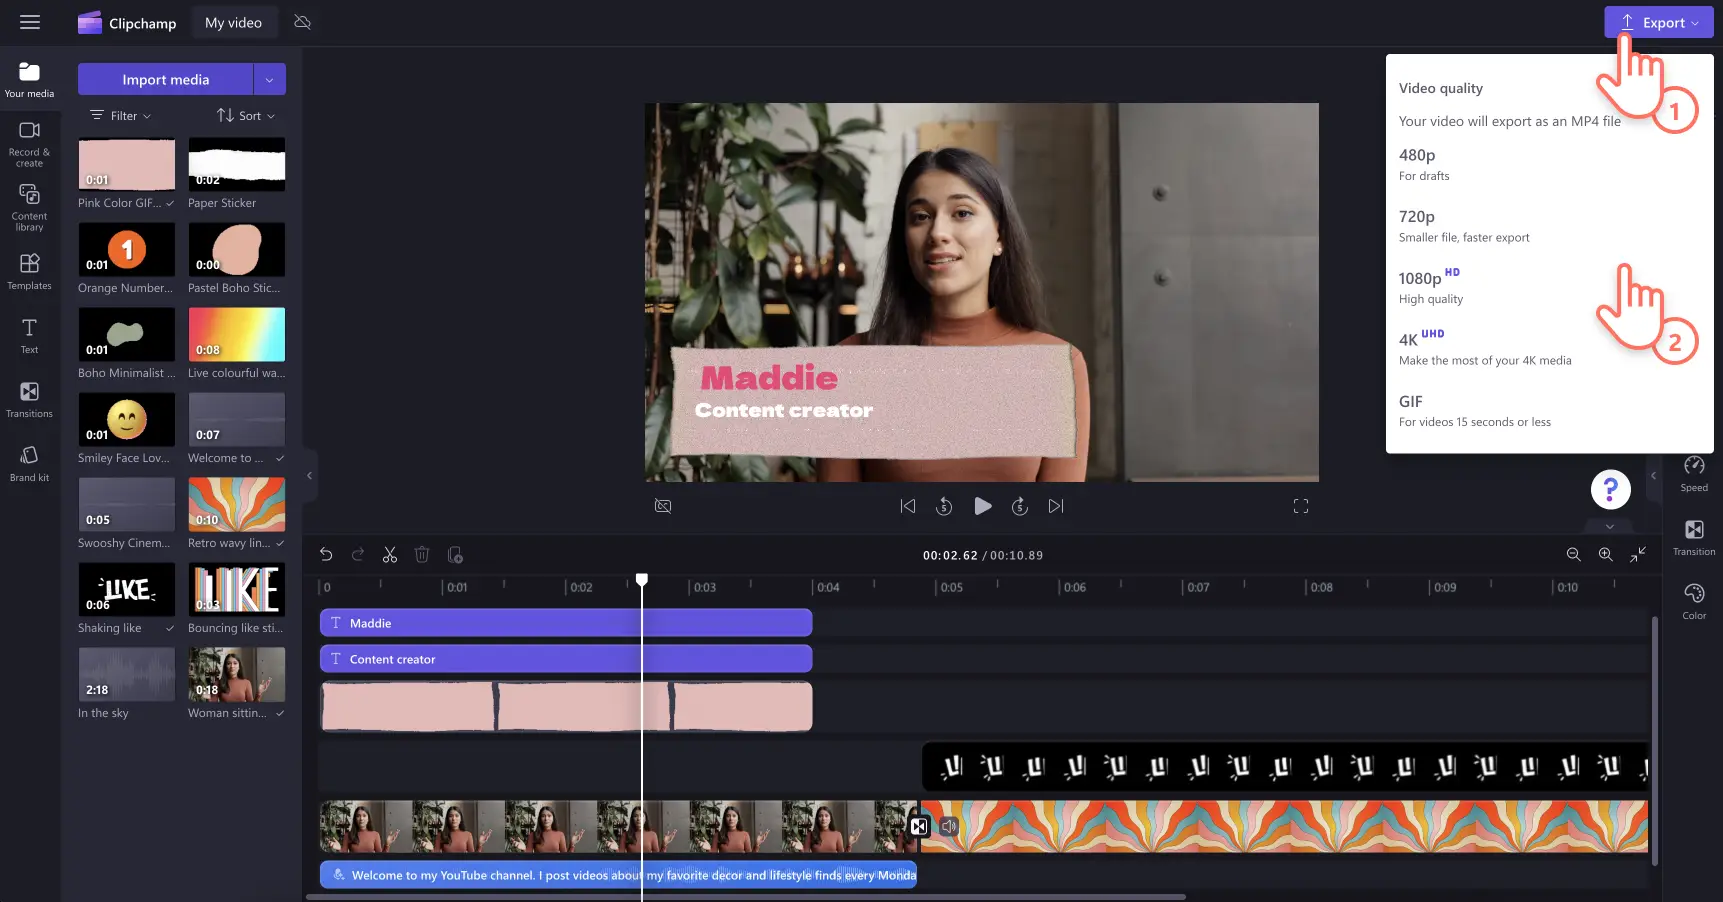
Step 5. Preview and save your video
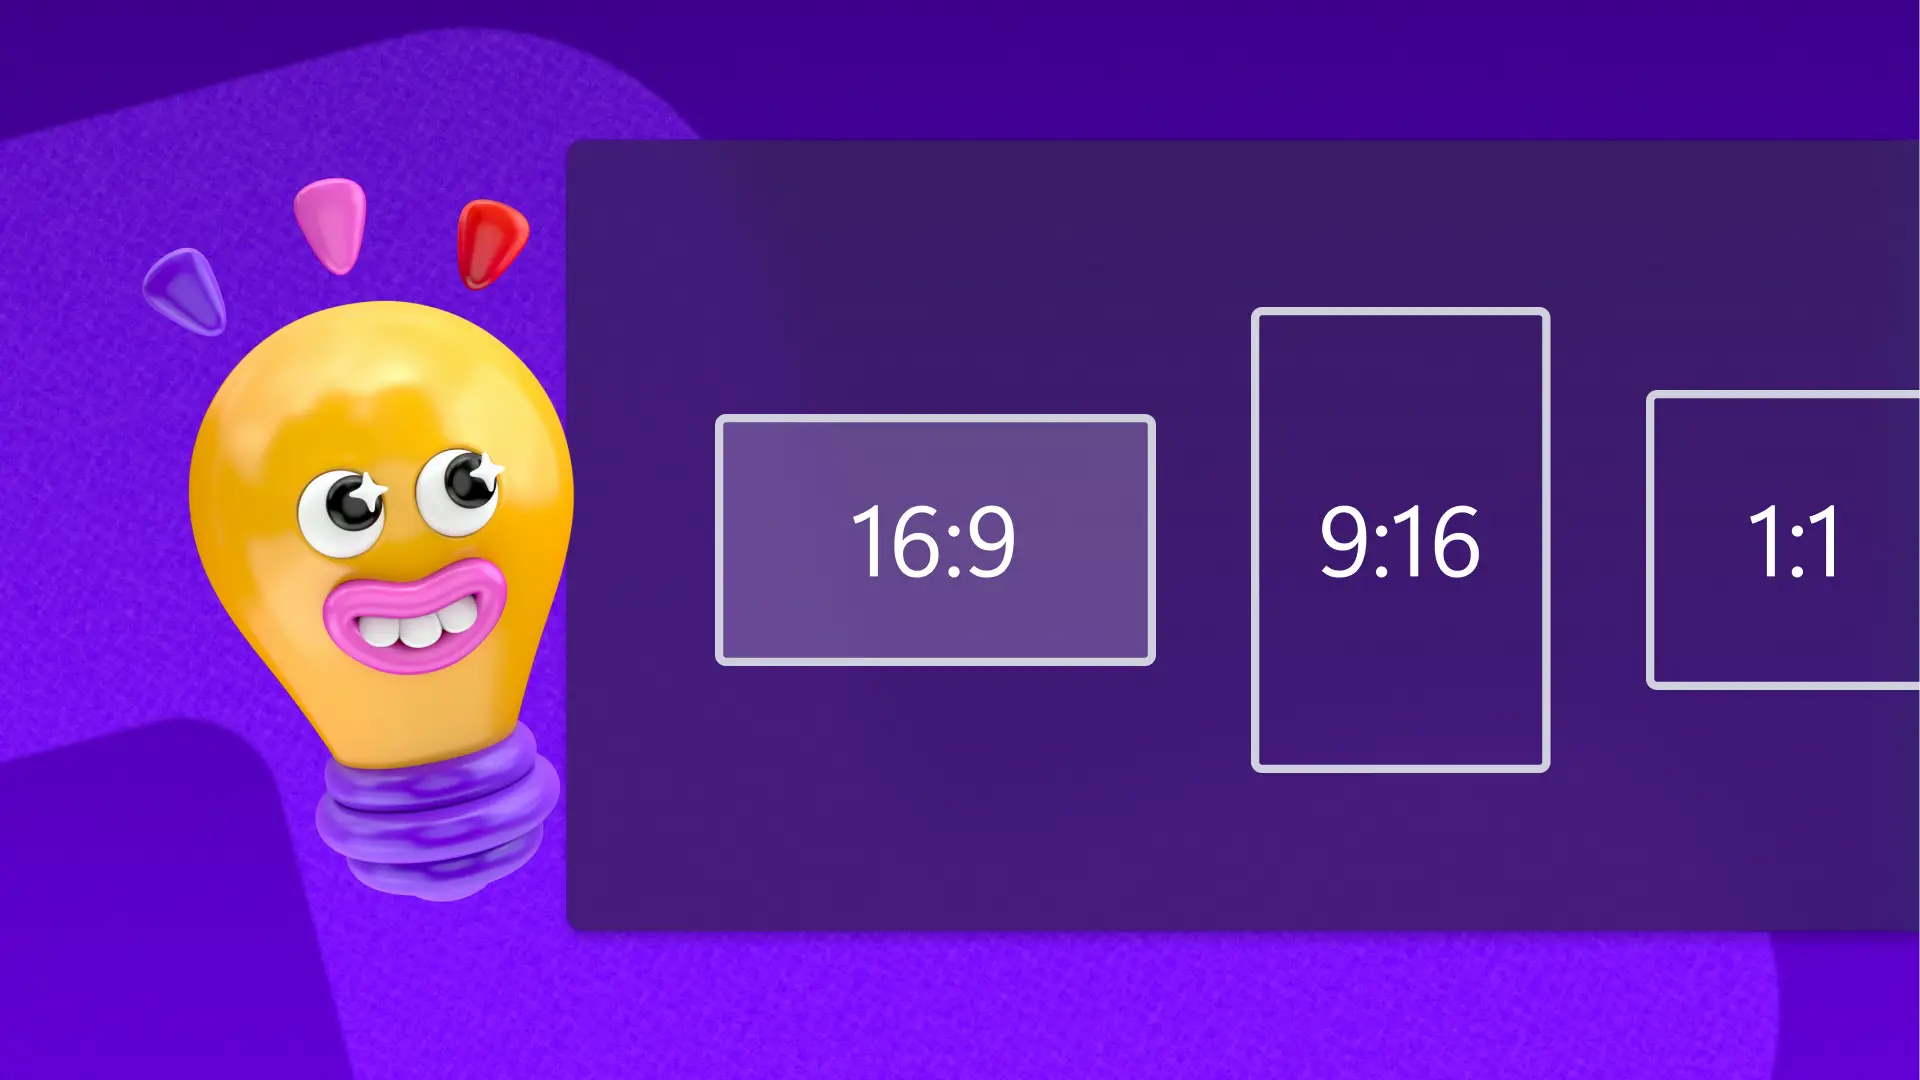
Preview your video creation by clicking on the play button. When you’re ready to save, click on the export button and select from a range of video resolutions. We recommend saving all videos in 1080p video resolution for the best quality to share on social media and YouTube. Paid subscribers can save in 4K video resolution.
Ready to add lower thirds to a video? Try Clipchamp for free or download the Clipchamp Windows app to get started.